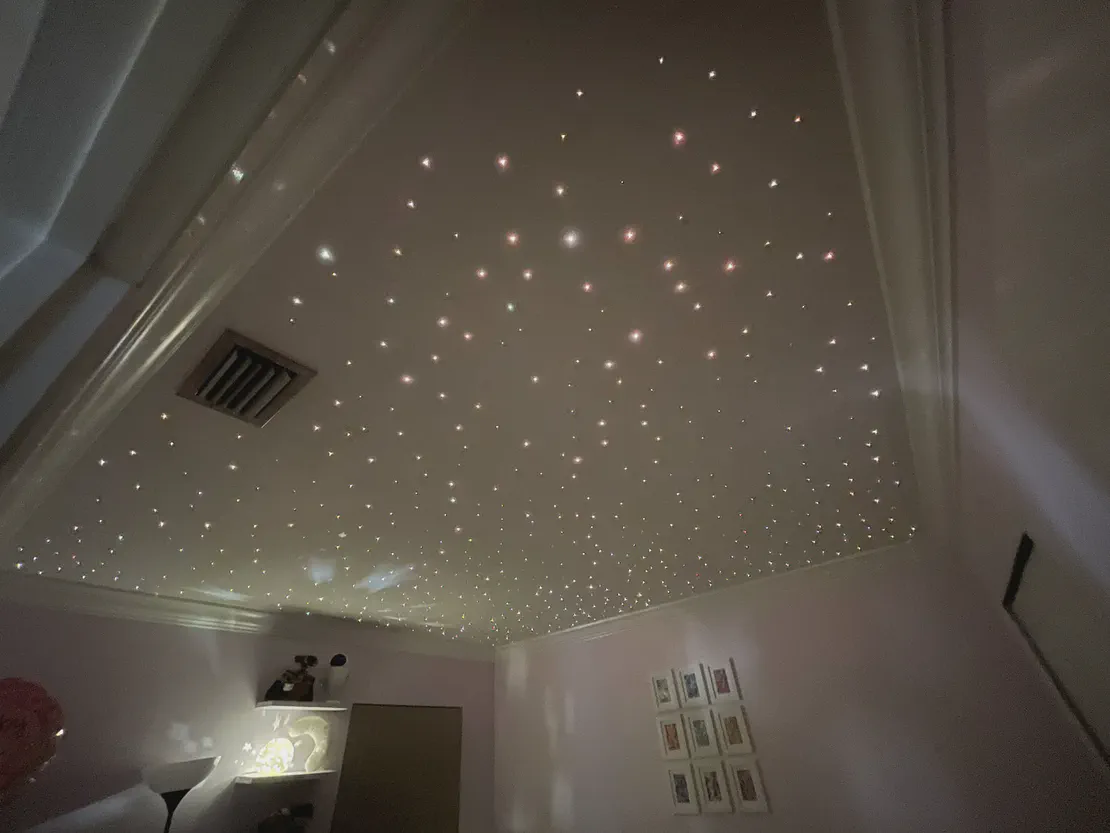
Starry Sky Space-Themed Nursery
- Ravel Antunes
- Personal projects
- January 10, 2024
On January 1st, New Year Day, my daughter Lua was born. Her name means “moon” in Portuguese, but even before we had picked the name and had decided to make the nursery space-themed.
We opted to try a fairly ambitious project (in terms of time and labor). The goal was to get fiber optic filaments and put them coming out of the attic and down through the ceiling. When all you see is the tiny little tips of the filament being illuminated at the other end by LED, it can look like a starry sky.
This is the result of the project. During the day, it keeps a warm, gold-like color, matching the other star-shaped lights in her room:
At night we have them twinkle in white, with very light luminosity. Unfortunately, it’s really hard to capture it on an iPhone camera due to the very low light, but this is a view of the camera looking straight at the ceiling from the floor:
Move Insulation
When I bought the equipment and materials I had a naive assumption that it would be easy enough to pass the filaments through the insulation, since it’s fairly soft and porous. However, I quickly learned that while that was true, the insulation would get in the way of visibility to understand what I was doing and make it extremely uncomfortable to work while in the attic. I decided that it would be best to just move it out of the way by relocating all the insulation above the nursery to other areas of the attic.
I tried different approaches including trying to bag it, just trying to grab a clump of it with both hands, shovels, etc. None of those methods were efficient. It would take days to get it to work. After a bit, I decided to try an electric leaf blower. When working at maximum power it could make the insulation move. It was still not easy or quick: I had to blow each segment multiple times since every time I tried to blow insulation in a direction, about 25% would blow back into areas that I had already blown. It was also really uncomfortable to keep working there. The roof is not that tall, so being up in the attic and moving around with a leaf blower felt like doing a constant plank workout. To move all the insulation to the point where the drywall ceiling was clear to work took maybe 10 sessions of 15-30min (which was the maximum I could handle physically). I was also wearing 3M dust mask, eye goggles, long sleeves, and pants, which was not very comfortable.
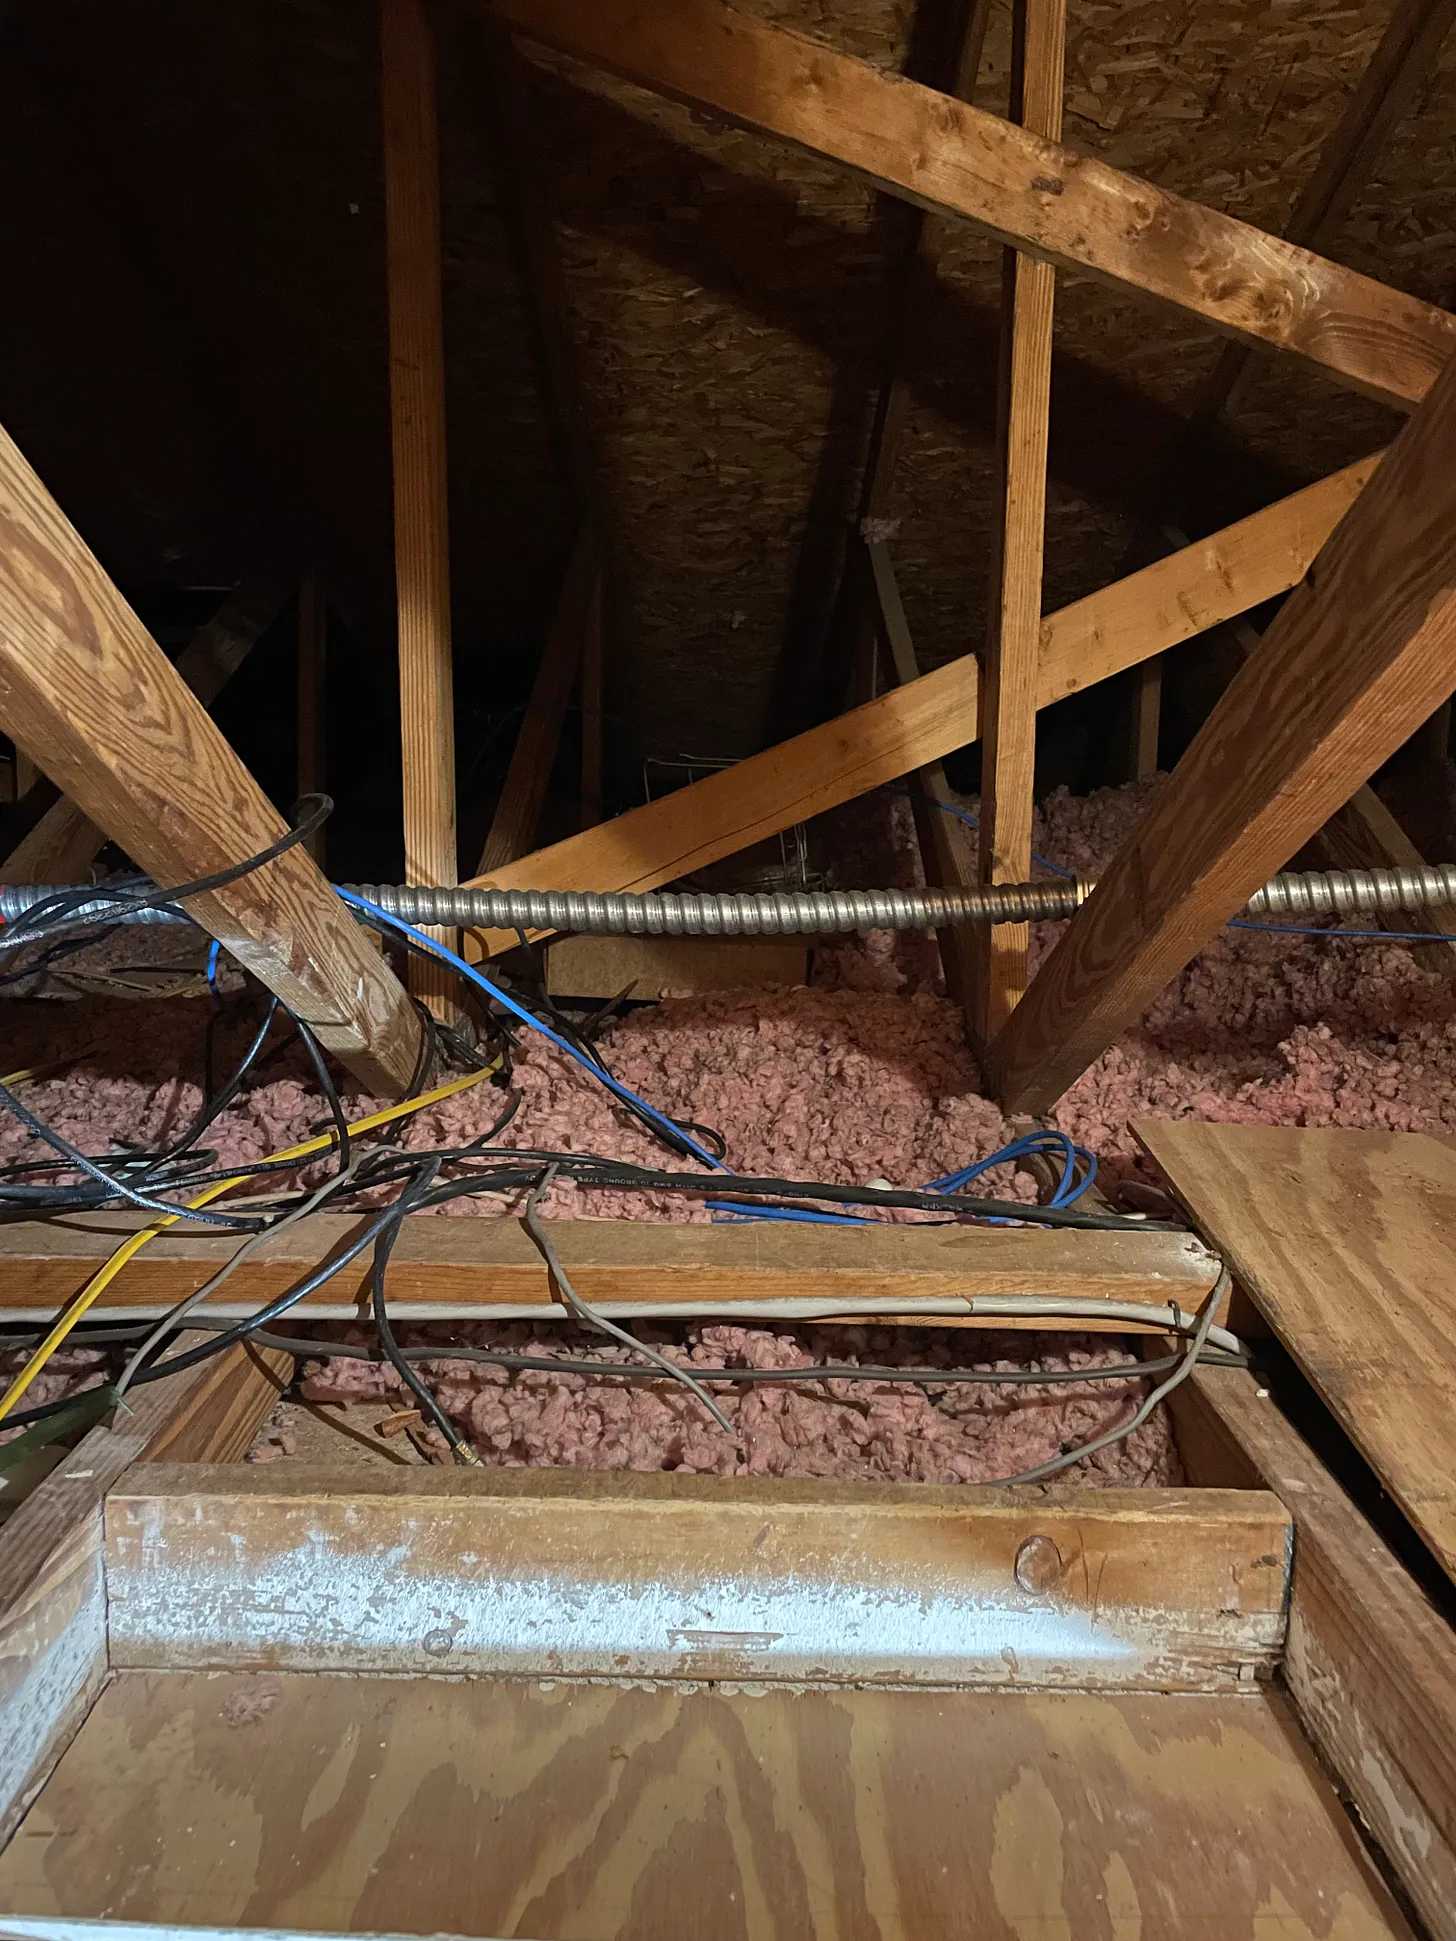 Before moving insulation
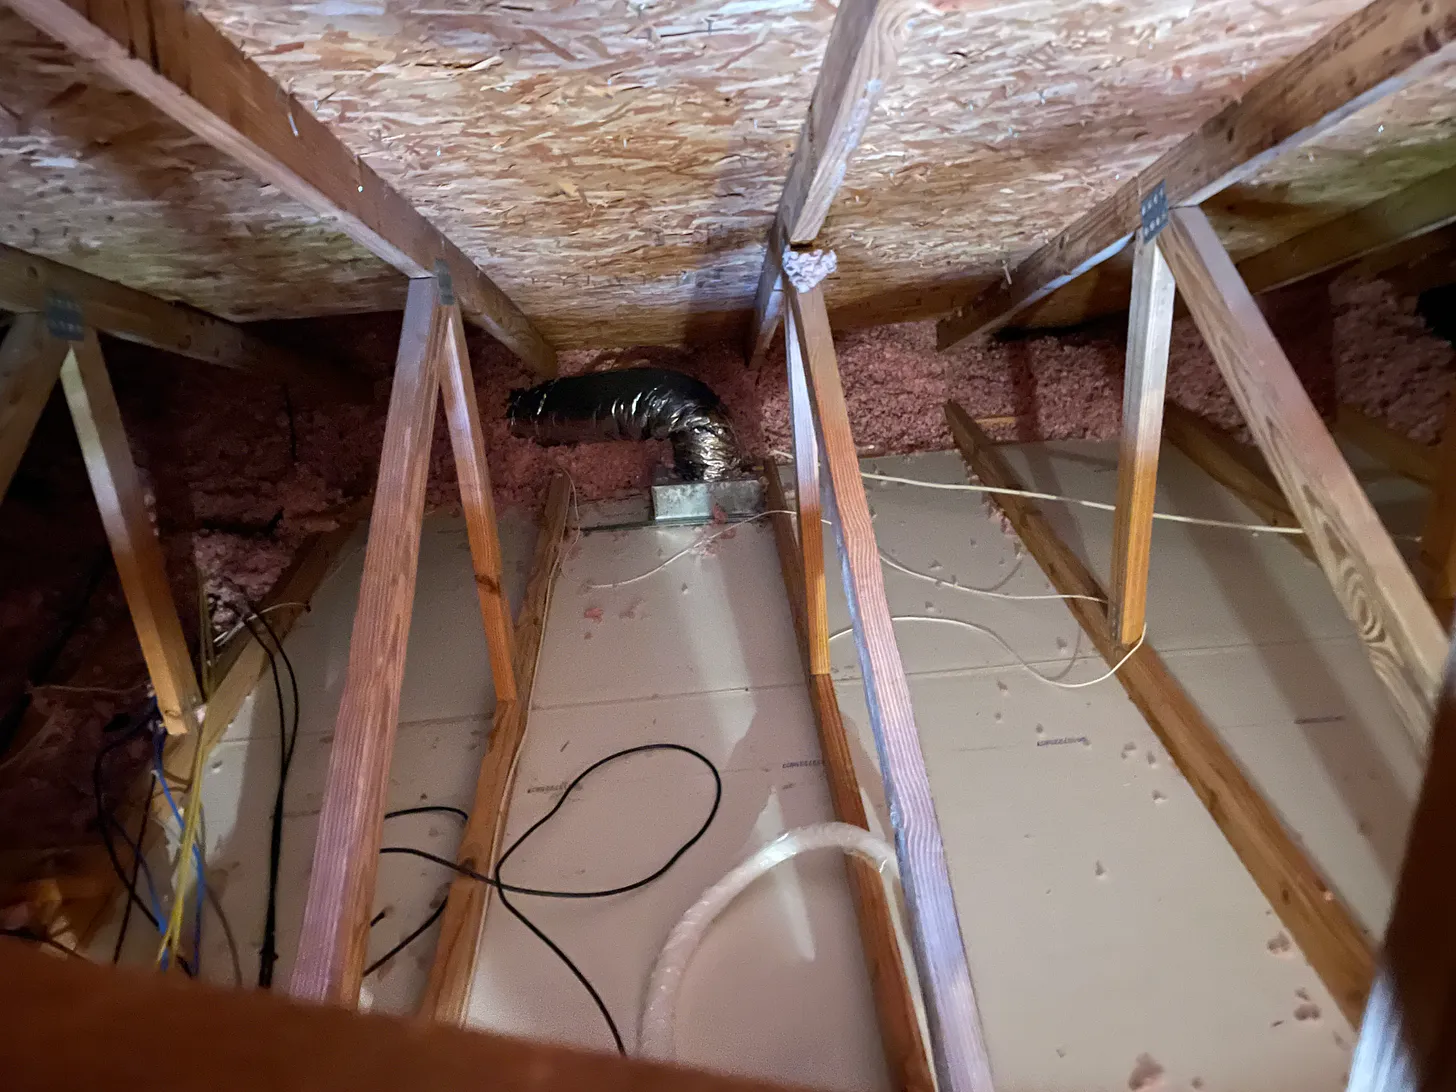 After moving insulation
Putting Filaments Through
I subdivided the filaments into smaller groups. This worked well, but I learned later that I should have better planned how I would distribute each group through the different areas. Once I started putting the filaments I realized that things were getting messy quickly. Sometimes I accidentally dropped the un-bundled groups I had just to have all the filaments spread all over. Trying to find their ends up there was a hard.

Drilling
The first method I tried was to try to drill a hole from the attic down. This worked, but I noticed that caused the paint to crack slightly around the hole, which made it more visible than I liked.
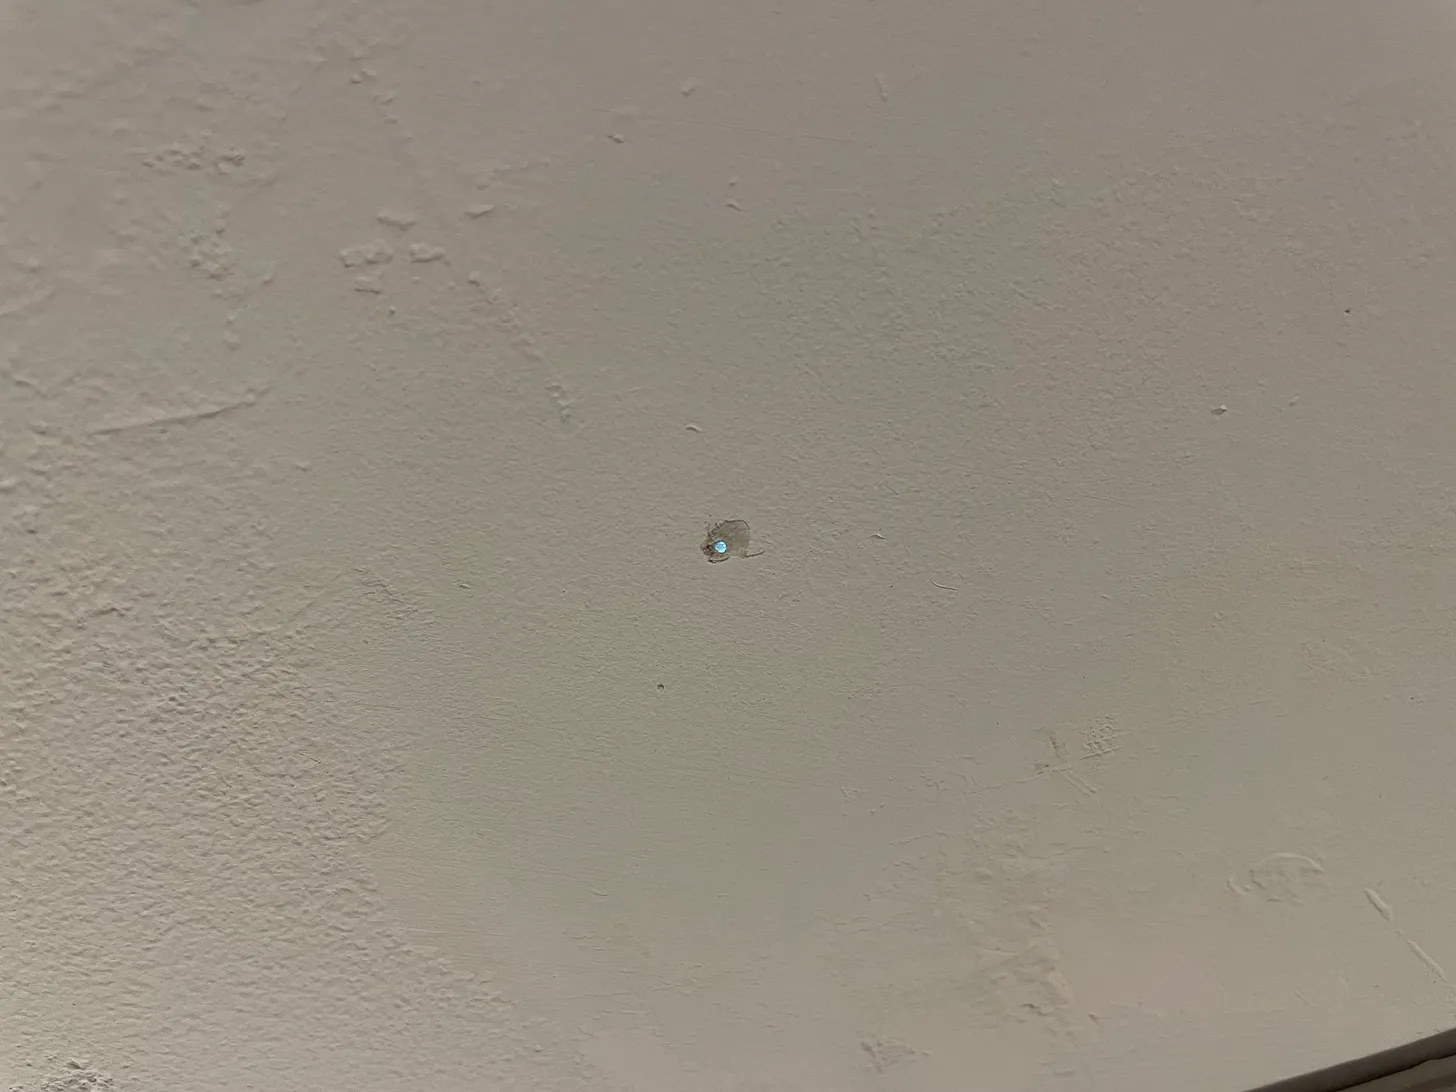
I then experimented with drilling the hole from the bottom up. It had the benefit of leaving the least of a mark around the pain that drilling from down from the attic. The disadvantage is that I would have to hunt down the individual holes up there, with limited visibility, and perform aerobics.
Filament Placement
The first approach I tried was to just put the filament through, glue it, and then trim the tip near the ceiling so it was flush with it. This didn’t work well, most of the tools I tried (plier, scissors, razor blade) didn’t do a good job enough to keep things flush while also not damaging the ceiling.
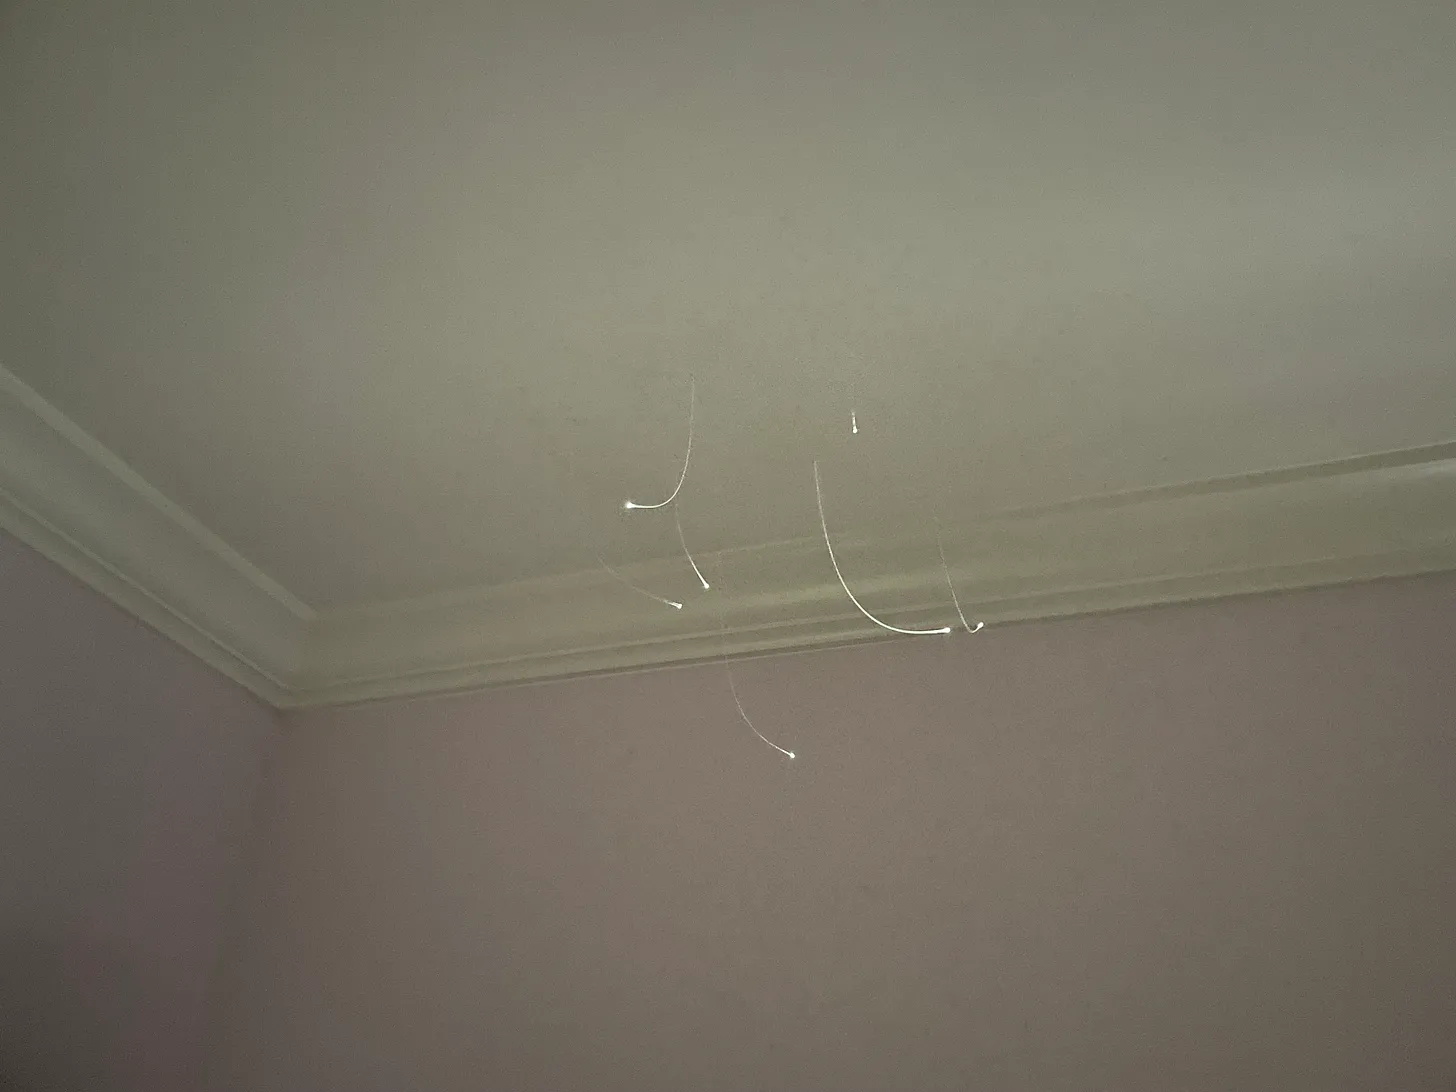
The alternate method I developed instead was to put the filament just enough to get through the drywall, and have a spotter (which had already become a necessity at this point) in the room that pushed the filament back with a flat object so it didn’t go beyond the ceiling, making it perfectly flush to it.
I was glad that I had created the subdivisions of cables and taped them together before I started the work, although I could have done a better job “piping” them first through the different areas of the attic and through the beams to keep things more organized.
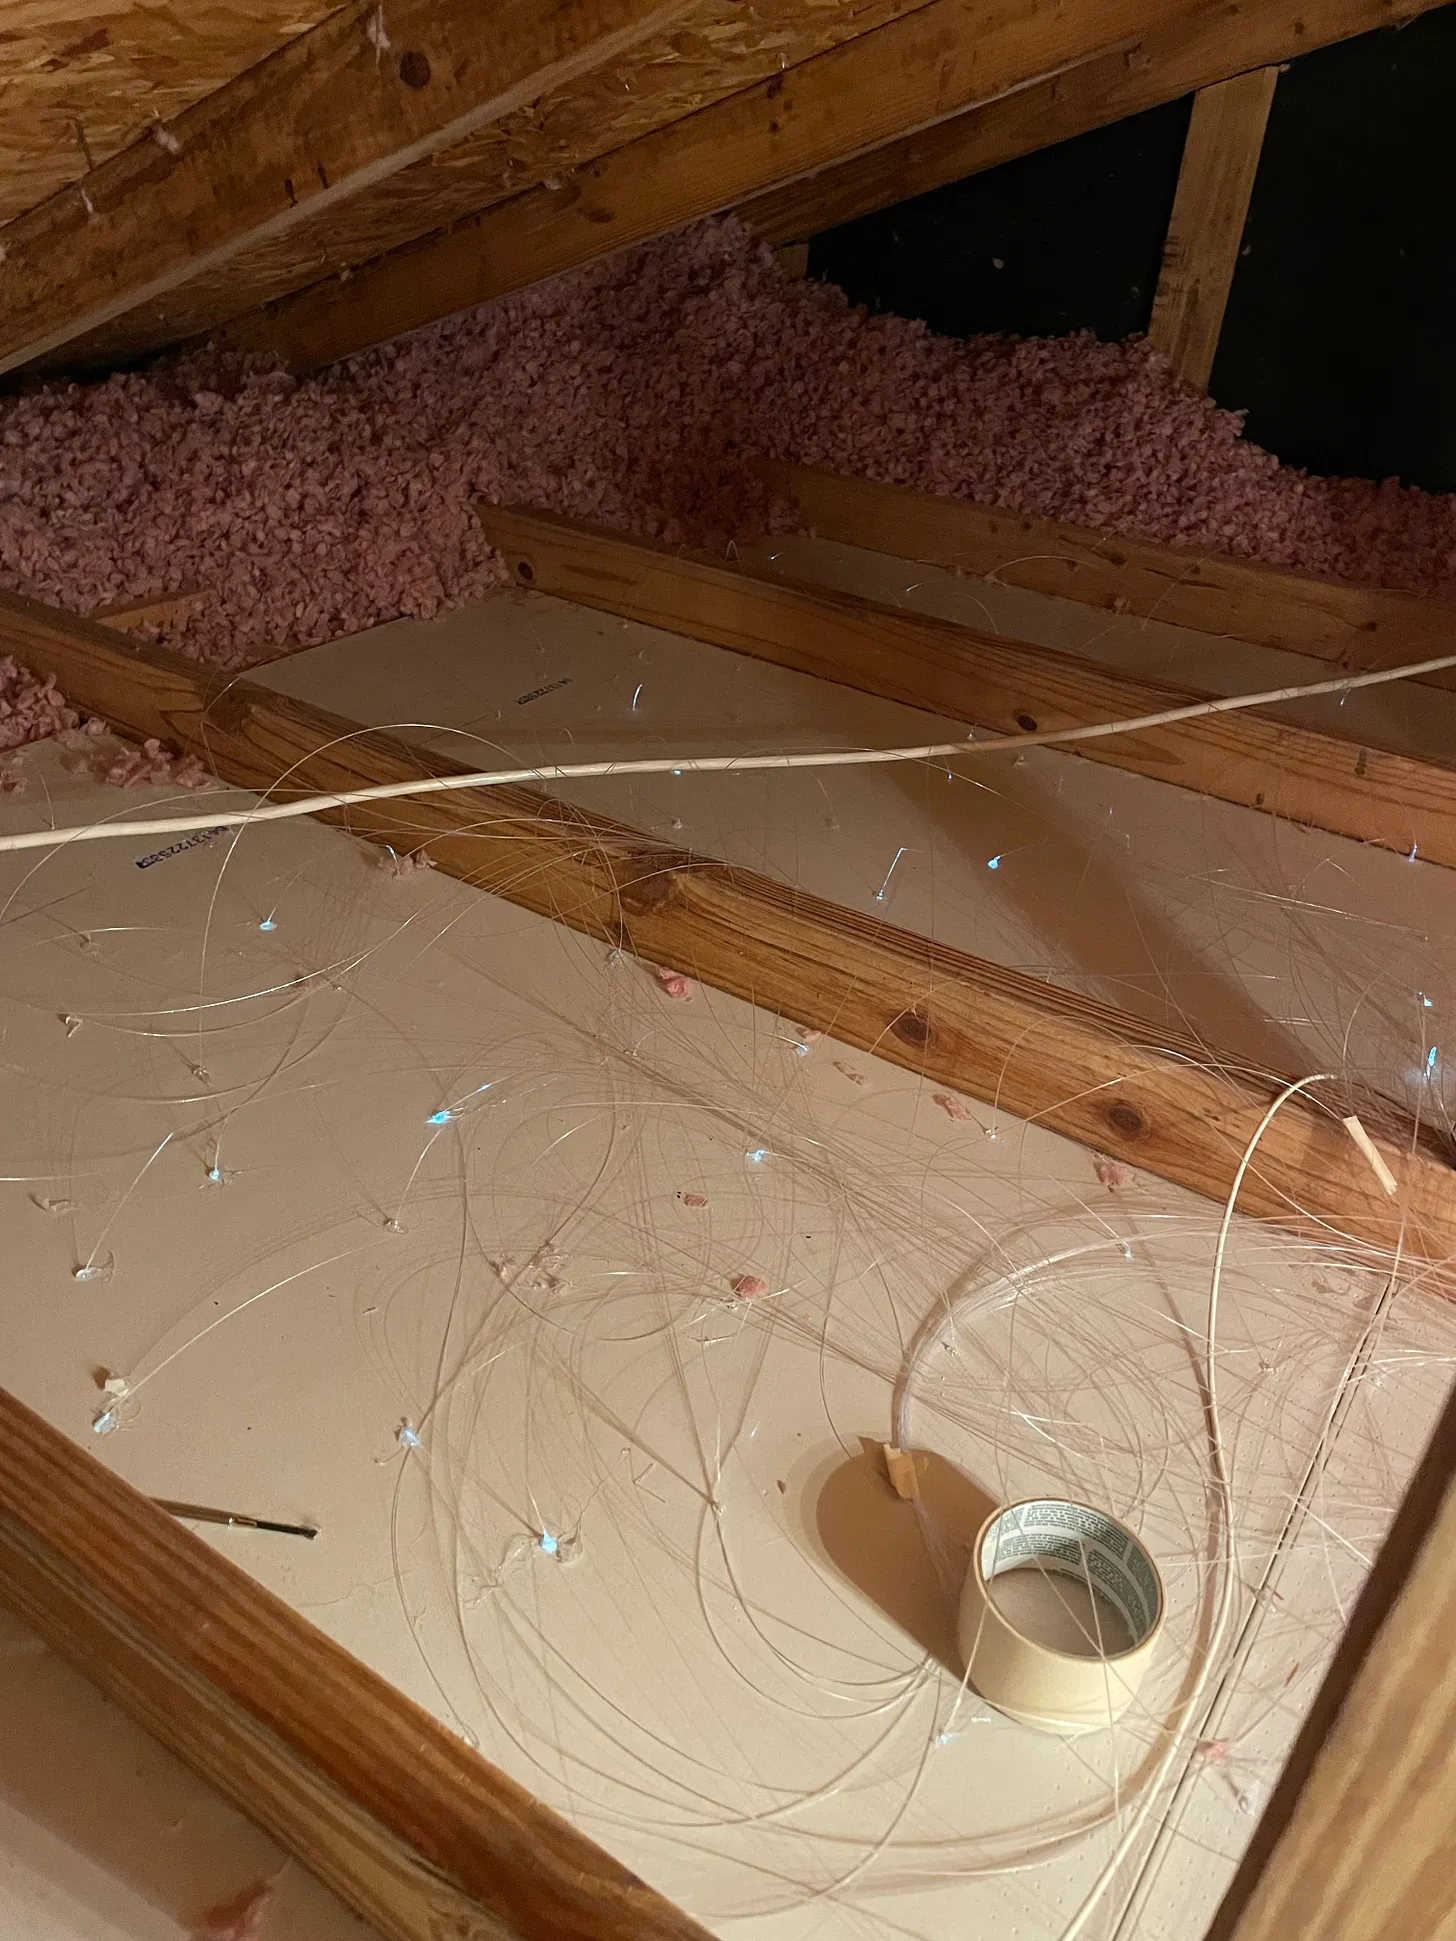
I learned that things quickly got pretty messy, as much as I tried to keep it tidy.
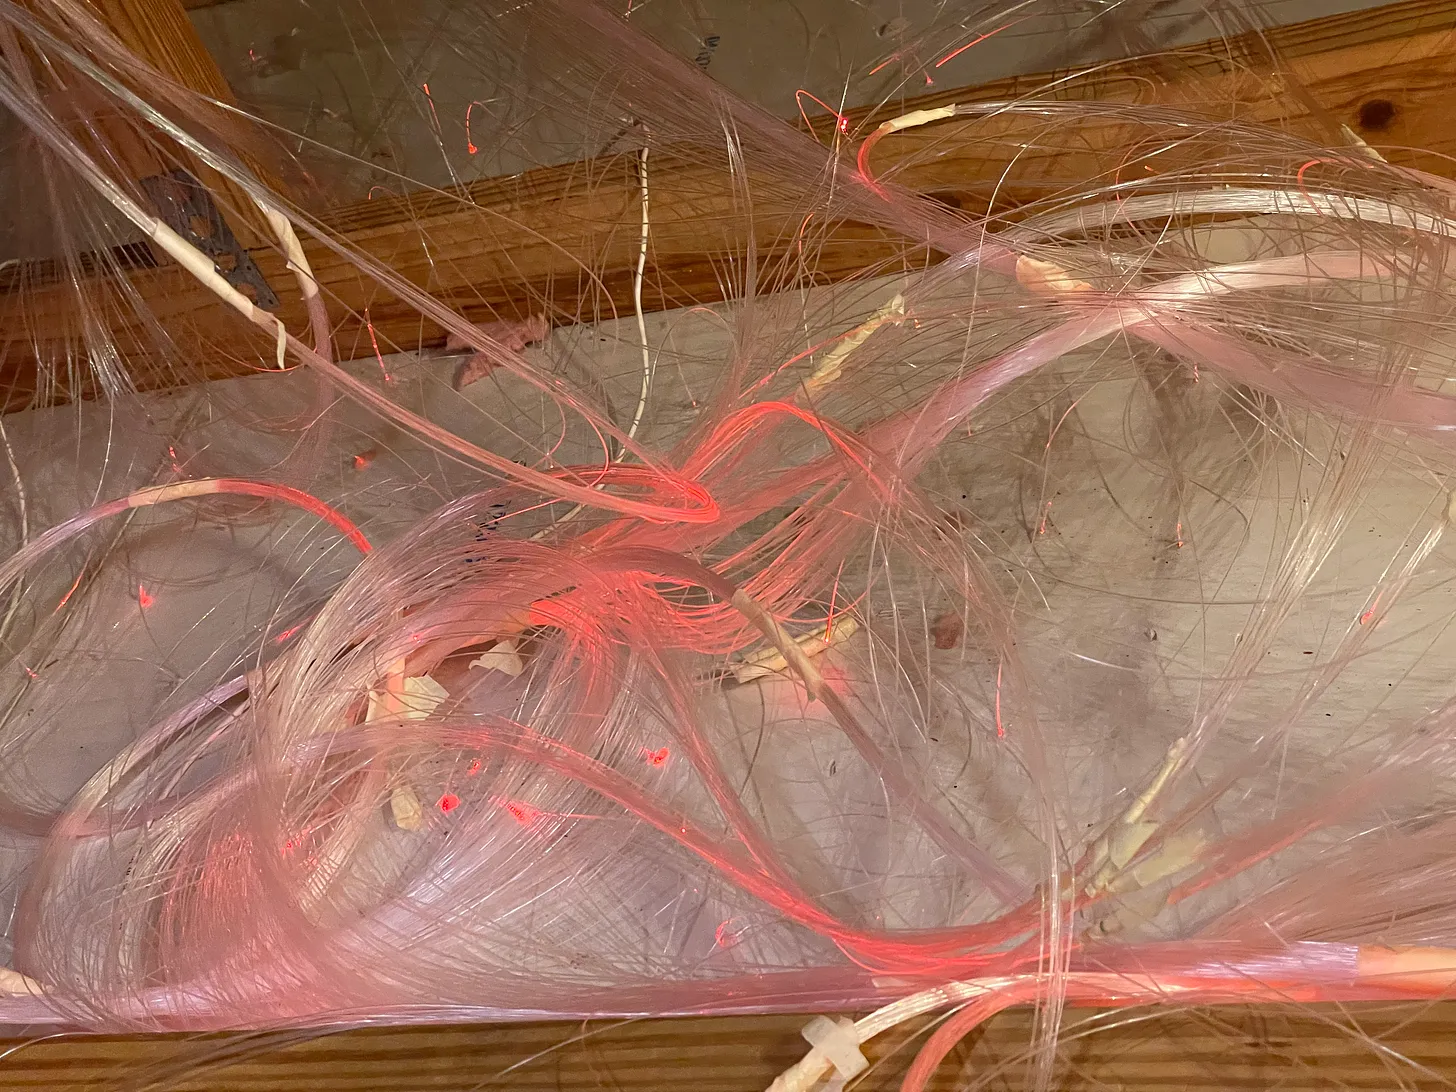 Things got out of hand here.
Gluing
Gluing was perhaps the thing that took the most to develop a good technique. I tried gluing from the room on the ceiling. That didn’t work at all, so I realized I would have to glue it up there in the attic.
The hardest thing about gluing was the temperature at which the glue operated. Turns out that applying the glue directly on top of the filament would melt and bend the filament. When that happened, the light would start exiting through the area where it melted instead of through the tip on the other side of the ceiling. I tried multiple methods: putting the filament and then dropping the glue, holding the filament straight so the hot glue doesn’t bend the filament, pressing the gun until a little bit of glue comes out of the tip, and using a fan to cool it before putting it on the filament. The method that worked best was putting the glue on the hole, using a fan to cool it slightly (enough to not melt the filament but still be soft enough), and then passing the filament through the glue drop into the hole. On the coldest days I was working there (around 50°f) I could put the glue on the hole, wait a few seconds, and then pass the filament through it, and that was enough to not melt the filament.
The glue helped hold things in place, but nothing too strong. A few got tangled on my arm or feet while moving in the attic, which made me have to go back and re-do a bunch of them.
Overall Tips
If you want to try a similar project, here are some of the tips from what I learned along the way:
- Use protective gear! Fiberglass can make your skin itchy, and irritate lungs and eyes.
- Bring a cushion for your knees
- Wait for cool weather if you can
- Have a wooden plank that you can lay between the beams, so you can also rest your body
- Try to create a good filament organization system. I subdivided them into groups and sent each group to a different side of the room, but in retrospect I would have spent more time planning a “distribution system” for them (ie.: taping groups to the wood, maybe using pipes, etc.
Equipment
- fiber optic filaments
- LED lights or project
- safety equipment (M3 masks, safety goggles for dust)
- Glue gun
- Drill with a very thin bit
- Tape (for cable organization and holding in place)
Even though this project was physically and strategically challenging and took 40+ hours to complete, the result was well worth it. I hope my daughter will be mesmerized by the twinkling stars in her room for as long as she occupies it and always enjoys staring up at them before drifting off to sleep.


